One of the great things i enjoy about Wargaming is researching battles and campaigns, for table top battles. This allows you to study all the aspects of a moment in military history, be it for a club game, or as in my case a solo project.
One aspect in wargaming is to play and follow the historical time lines of a particular campaign, but to also be able look a bit deeper into the possibility's of what might have happened is also a great challenge to play out on the table top. What if say, General Loisons divisions had arrived at Rolica during the battle on the 17th August 1808. Wellesly certainly thought it was a possibility, as he manoeuvred his troops to trap General Delaborde. Delaborde himself had hopes that Loison would make an appearance as he skillfully withdrew his forces before a much larger enemy. So taking the opportunity to fight out a what if battle is always an interesting table top battle. So part 11 of my project will feature a what if battle of Rolica, were General Loison marches to the sound of the guns and onto the battle field.
One aspect in wargaming is to play and follow the historical time lines of a particular campaign, but to also be able look a bit deeper into the possibility's of what might have happened is also a great challenge to play out on the table top. What if say, General Loisons divisions had arrived at Rolica during the battle on the 17th August 1808. Wellesly certainly thought it was a possibility, as he manoeuvred his troops to trap General Delaborde. Delaborde himself had hopes that Loison would make an appearance as he skillfully withdrew his forces before a much larger enemy. So taking the opportunity to fight out a what if battle is always an interesting table top battle. So part 11 of my project will feature a what if battle of Rolica, were General Loison marches to the sound of the guns and onto the battle field.
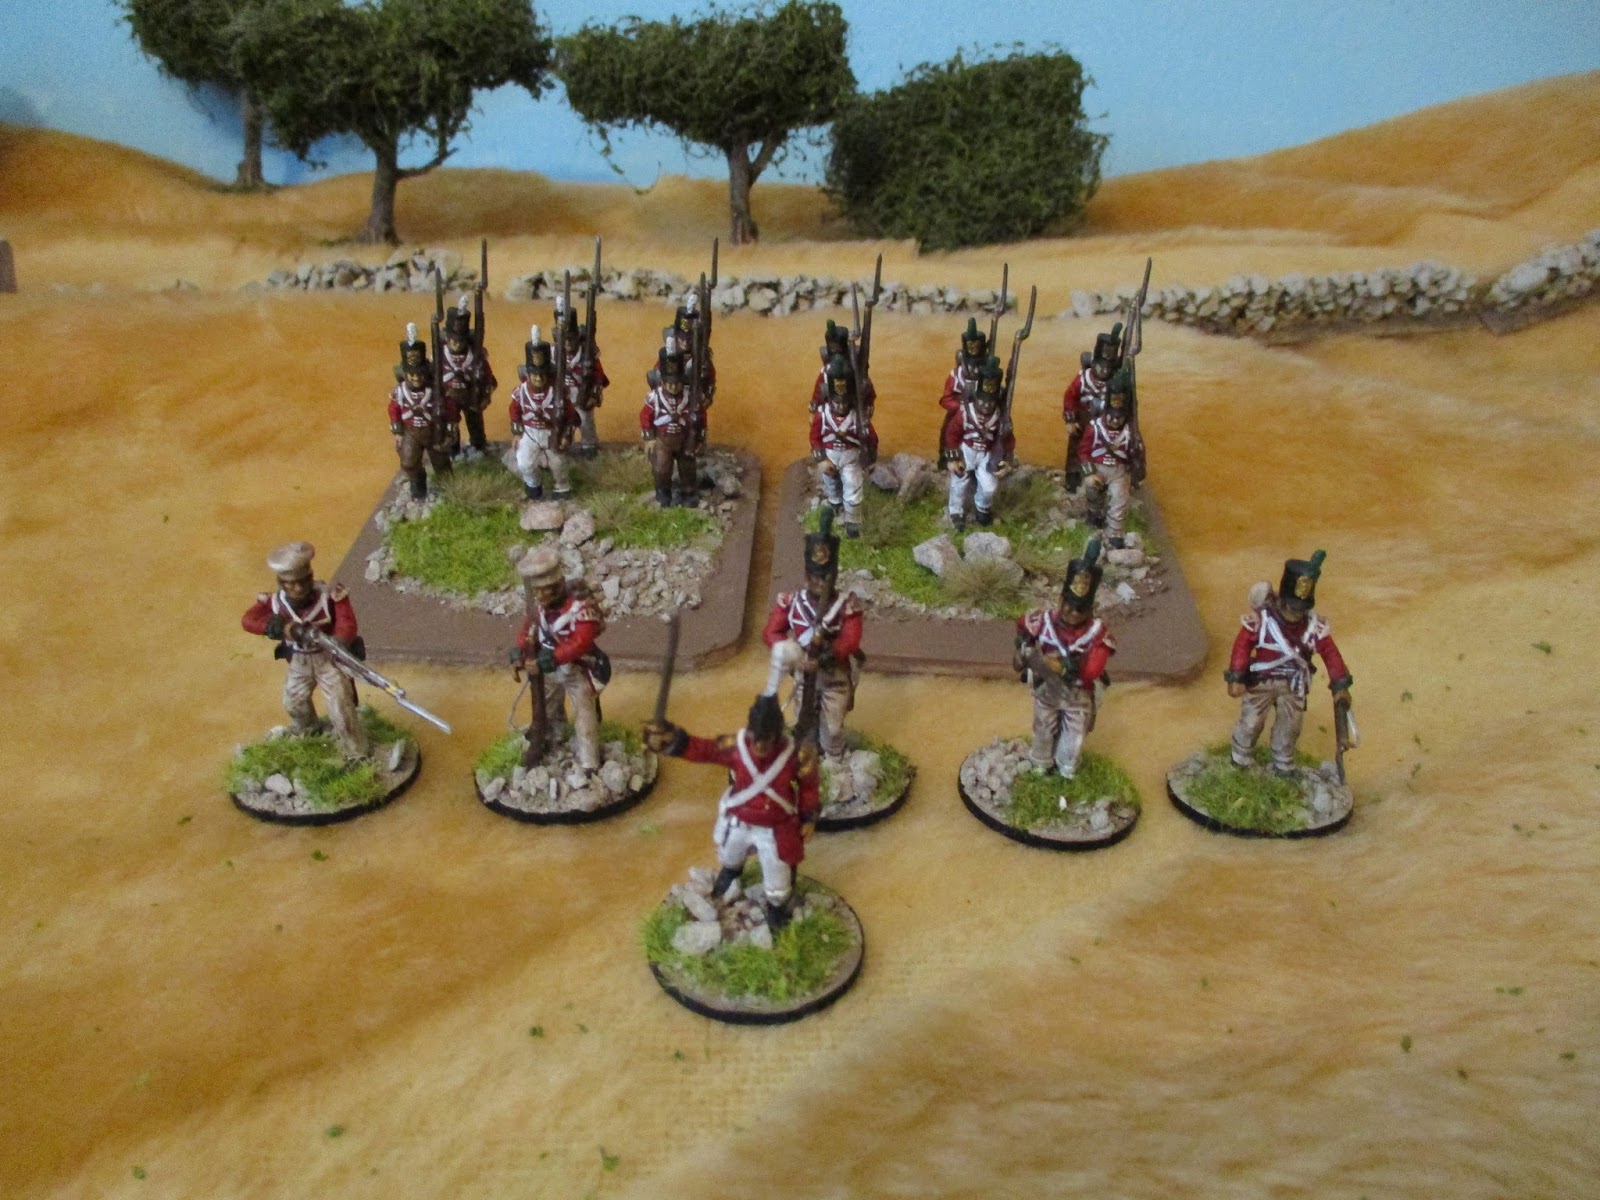
The forces of the British and Portuguese are the same in our first historical battle, but a quick recap would see the allies having the following.
Centre column under General :
5th Foot Regiment
9th Foot Regiment
29th Foot Regiment
95th Rifles
Artillery battery
Left column under general Ferguson
6th Foot Regiment
32nd Foot Regiment
60th Rifles
Portuguese cavalry attachment
Artillery battery
Right column under general Trant
12th Foot Regiment
21st Foot Regiment
Portuguese cavalry attachment
Reserve 4 Foot battalions
Scenario
The British plan is to advance on Delabord's position on the ridge line above the village of Rolica in a pincer movement with the flank columns of Freguson and Trant to close in on the French and hopefully cutting off their line of retreat. The Portuguese are to advance on the town, while Ferguson is to advance on the French left.
In the event of French reinforcement, the flanks are to hold them till the reserves come to their aid.
The French plan is to hold the ridge line once Loison's division in on the move, Delaborde is to move on the British centre's flank. pinning it letting Loison's division to finish them off.
 The battle field the French position top right of the picture on the ridge. The town of Rolica is just below the ridge.
Centre column under General :
5th Foot Regiment
9th Foot Regiment
29th Foot Regiment
95th Rifles
Artillery battery
Left column under general Ferguson
6th Foot Regiment
32nd Foot Regiment
60th Rifles
Portuguese cavalry attachment
Artillery battery
Right column under general Trant
12th Foot Regiment
21st Foot Regiment
Portuguese cavalry attachment
Reserve 4 Foot battalions
Scenario
The British plan is to advance on Delabord's position on the ridge line above the village of Rolica in a pincer movement with the flank columns of Freguson and Trant to close in on the French and hopefully cutting off their line of retreat. The Portuguese are to advance on the town, while Ferguson is to advance on the French left.
In the event of French reinforcement, the flanks are to hold them till the reserves come to their aid.
The French plan is to hold the ridge line once Loison's division in on the move, Delaborde is to move on the British centre's flank. pinning it letting Loison's division to finish them off.

General Delaborde would again have the following forces at his disposal.
Commanding General Delaborde
1st Brigade command Brenier
2nd light infantry
4th light infantry
2 battalions 70th line infantry
4th Swiss infantry (2 companies)
2nd light infantry
4th light infantry
2 battalions 70th line infantry
4th Swiss infantry (2 companies)
attached:
26th Chasseur A Cheval
Artillery 8 field guns
26th Chasseur A Cheval
Artillery 8 field guns
For the game I am going to give General Loison the same units he had at Evora (see part 6 of the project)
Commanding General Losion
1st Brigade command Solignac
12th light infantry
15th light infantry
58th line infantry
12th light infantry
15th light infantry
58th line infantry
2nd Brigade command Charlot
2 battalions 86th line infantry
2 battalions reserve Grenadiers
1st Hanoverian Legion
2 battalions 86th line infantry
2 battalions reserve Grenadiers
1st Hanoverian Legion
attached:
4th Dragoons
5th Dragoons
Artillery 5 field guns
4th Dragoons
5th Dragoons
Artillery 5 field guns
General Loison division is set to appear on the Bombarral to Rolica road, and on General Ferguson left flank. Losion's activation card will be on the top of the deck (all others having been shuffled) This will insure his command moves first in turn one.
For this game I will be using saber sovringn and shako rules by Chris Walton. These are a nice and easy set of rules with plenty of flavour, for the Napoleonic period. each brigade of both armies have a unique command card giving a bit of character to the brigade. I have added a little to the rules to allow me to play them solo but the main rules have not changed.
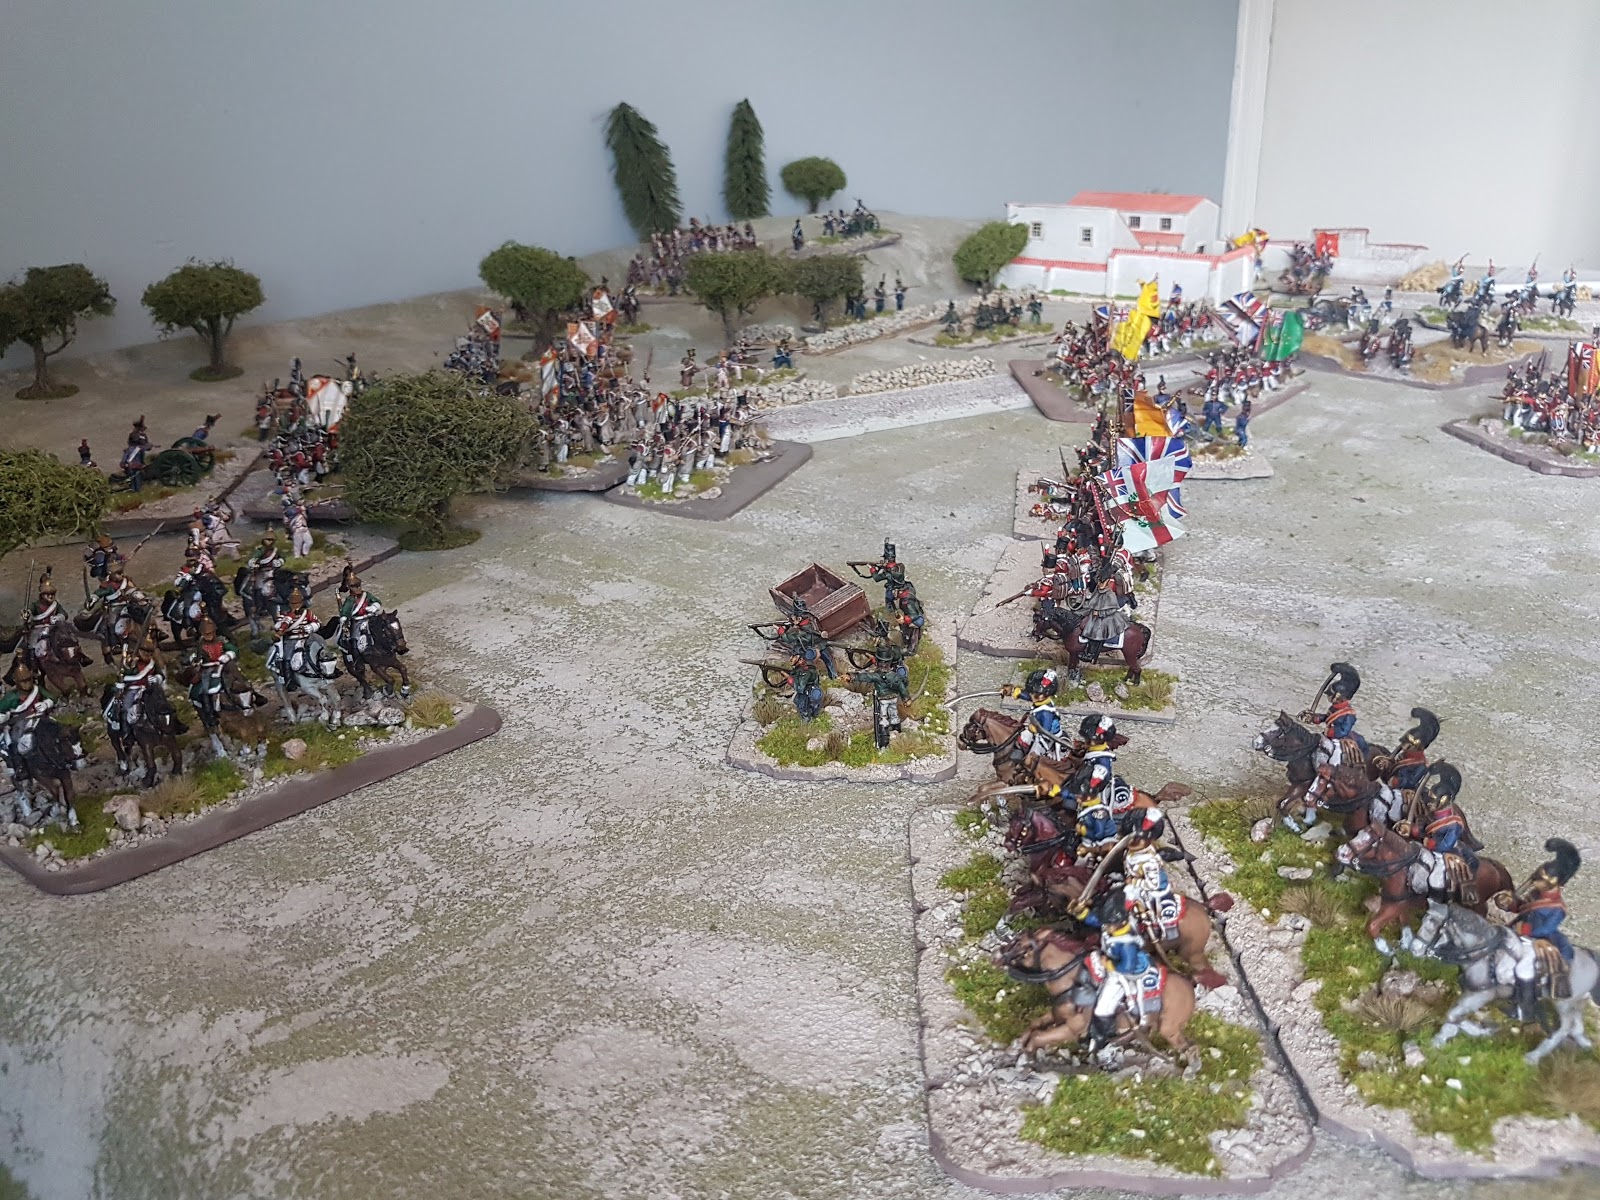
 The set up of the battle Delaborde has taken his position on the ridge line behind the village. The Portuguese can be seen below the village Wellesley is in command in the centre and Ferguson in with the left flank.
TURN1
Things are going well for the British Delaborde appears to be pinned on his ridge behind Rolica. That was until a galloper came riding up to Wellesley with the news that general Loison's division is moving on his left flank.
 Loison's division appears on the British left flank.
TURN 2
Loison continues his advance hoping to link up with Belaborde. Wellesley calls up the reserves, orders the Portuguese to press home their advance on Rolica, in the hope this will occupy Delaborde giving his reserves time to advance.
 A wider view of Loison's advance on the British position.
 The Portuguese advance on the village of Rolica.
 General view of the battle field end of turn 2
TURN 3
Portuguese and British artillery pound away at the French, The French artillery fire from the ridge line. More French appear on the British left flank. General advance of troops on both sides.
 The British left flank prepare themselves for the French assault.
 The French are moving fast to catch the British before they can reinforce their left.
 The Portuguese are ready to take Rolica.
TURN 4
Fergusons brigade moves up to hold the left, British light dragoons are the first of the reserves to appear on the table. meanwhile the French are starting to press on Freguson.
Delaborde sends his light troops and the Swiss to hold up the Portuguese advance, while he moves his troops onto the British centre.
 Wellesley looks nervously for his reserves ("Humbugged by God")
 Delaborde moves his troops from the ridge onto the centre to add his weight to the fight.
TURN 5
The combined grenadier battalions move upon Fergusons line, will the British fire power be enough to stop them.
 The 2 battalions of combined grenadiers are about to make their presents felt.
 General view of the battle at the end of turn 5
TURN 6
To Wellesley's relief the British reserves move onto the table. The cavalry eye each other up, as the Portuguese continue to battle their way into Rolica.
 Much to Wellesley's relief the British reserves are on the table.
 The cavalry move in and charge home.
 A view of the battle from the left flank.
TURN 7
The Portuguese are making head way in Rolica as they slowly force the French back. The grenadiers are slowed then stopped by the combined fire from 3 British battalions. The cavalry clash its an even fight so far.
 The Portuguese are in Rolica
 The cavalry clash on the left.
 General view of the battle at the end of turn 7
TURN 8
The French cavalry are pushed back some how, and the light dragoons give chase riding over the unfortunate French light infantry. The French grenadiers withdraw from the exposed position.
The Portuguese take control of Rolica, but are just about spent.
 The Portuguese have taken Rolica.
 The British left looking a bit more healthy than it did a few turns ago.
 A relieved looking general Ferguson.
 The British light dragoons over run the light infantry.
TURN 9
The French are not done yet, the centre of the British start to buckle under pressure from the French.
 The British centre under extreme pressure, can it hold.
 The French cavalry and grenadiers rally and re-organise.
 The Portuguese press on and advance our of Rolica.
TURN 10
With Ferguson's flank secure and bolstered up with the reserves. Ferguson orders the advance. The Portuguese make one last push and advance out of Rolica , and onto Delabode's flank.
Time is running out for the French.
 The British left move forwards.
 The Portuguese move onto the French flanks.
 The centre might just be saved.
TURN 11
Well i'm going to leave the game there. The British centre has some how held on. More to do with the French flanks coming under pressure, rather than the centre it's self. The Portuguese fought a battle taking Rolica and then advancing out onto Delabode's flank. Ferguson had a heart attack when he sore the French division moving in on him, but he held his nerve and his ground long enough for the reserves to come up. The Sheree weight of numbers told in the end, once the British left had stabilised the French success in the centre would have found them surrounded. So the battle ended with the French falling back, and the exhausted British and Portuguese were only to happy to let them.
 General view of the battle at the end of the game a British victory but at what cost.
Another great battle in the series The French almost pulled of a great surprise as always thank you for taking the time to read my blog. my next part will be the last in the series with the final battle of the campaign the battle of Vimeiro.
For this game I will be using saber sovringn and shako rules by Chris Walton. These are a nice and easy set of rules with plenty of flavour, for the Napoleonic period. each brigade of both armies have a unique command card giving a bit of character to the brigade. I have added a little to the rules to allow me to play them solo but the main rules have not changed.

TURN1
Things are going well for the British Delaborde appears to be pinned on his ridge behind Rolica. That was until a galloper came riding up to Wellesley with the news that general Loison's division is moving on his left flank.

TURN 2
Loison continues his advance hoping to link up with Belaborde. Wellesley calls up the reserves, orders the Portuguese to press home their advance on Rolica, in the hope this will occupy Delaborde giving his reserves time to advance.


TURN 3
Portuguese and British artillery pound away at the French, The French artillery fire from the ridge line. More French appear on the British left flank. General advance of troops on both sides.


TURN 4
Fergusons brigade moves up to hold the left, British light dragoons are the first of the reserves to appear on the table. meanwhile the French are starting to press on Freguson.
Delaborde sends his light troops and the Swiss to hold up the Portuguese advance, while he moves his troops onto the British centre.


TURN 5
The combined grenadier battalions move upon Fergusons line, will the British fire power be enough to stop them.


TURN 6
To Wellesley's relief the British reserves move onto the table. The cavalry eye each other up, as the Portuguese continue to battle their way into Rolica.


TURN 7
The Portuguese are making head way in Rolica as they slowly force the French back. The grenadiers are slowed then stopped by the combined fire from 3 British battalions. The cavalry clash its an even fight so far.


TURN 8
The French cavalry are pushed back some how, and the light dragoons give chase riding over the unfortunate French light infantry. The French grenadiers withdraw from the exposed position.
The Portuguese take control of Rolica, but are just about spent.


TURN 9
The French are not done yet, the centre of the British start to buckle under pressure from the French.


TURN 10
With Ferguson's flank secure and bolstered up with the reserves. Ferguson orders the advance. The Portuguese make one last push and advance out of Rolica , and onto Delabode's flank.
Time is running out for the French.


TURN 11
Well i'm going to leave the game there. The British centre has some how held on. More to do with the French flanks coming under pressure, rather than the centre it's self. The Portuguese fought a battle taking Rolica and then advancing out onto Delabode's flank. Ferguson had a heart attack when he sore the French division moving in on him, but he held his nerve and his ground long enough for the reserves to come up. The Sheree weight of numbers told in the end, once the British left had stabilised the French success in the centre would have found them surrounded. So the battle ended with the French falling back, and the exhausted British and Portuguese were only to happy to let them.

Another great battle in the series The French almost pulled of a great surprise as always thank you for taking the time to read my blog. my next part will be the last in the series with the final battle of the campaign the battle of Vimeiro.